My first Linux laptop
Overview
Debian Linux base install – 2
Setting hostname and defining users & passwords

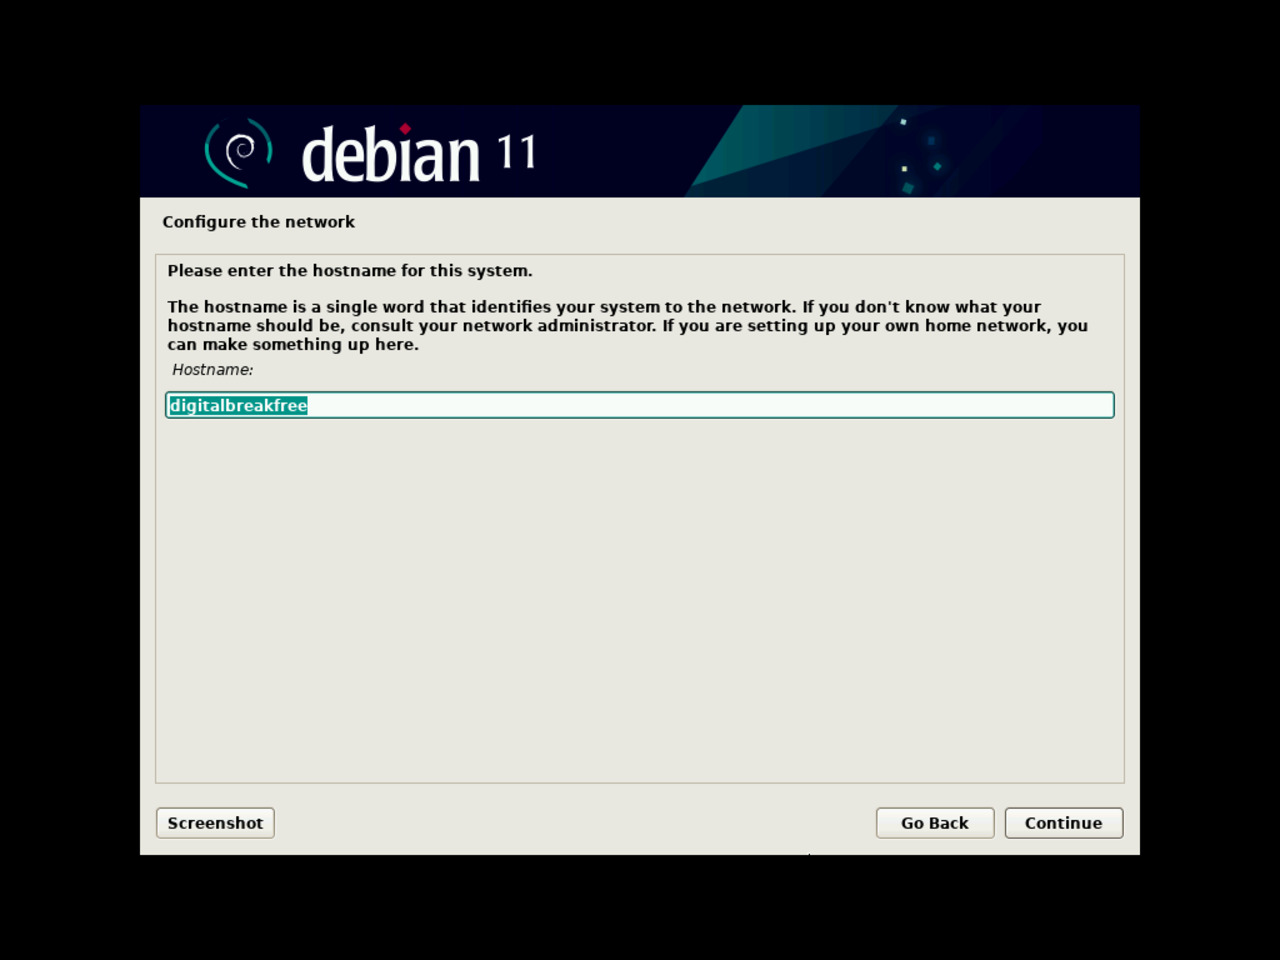
16 - Choosing the hostname
The hostname is your computer's unique name on your home network. It should be different from he names you may have given to other computers in your home network.
For demonstration purposes, I simply set “digitalbreakfree” as the laptop's name.
Click the “Continue” button once you have set the name.
17 - Setting a domain name
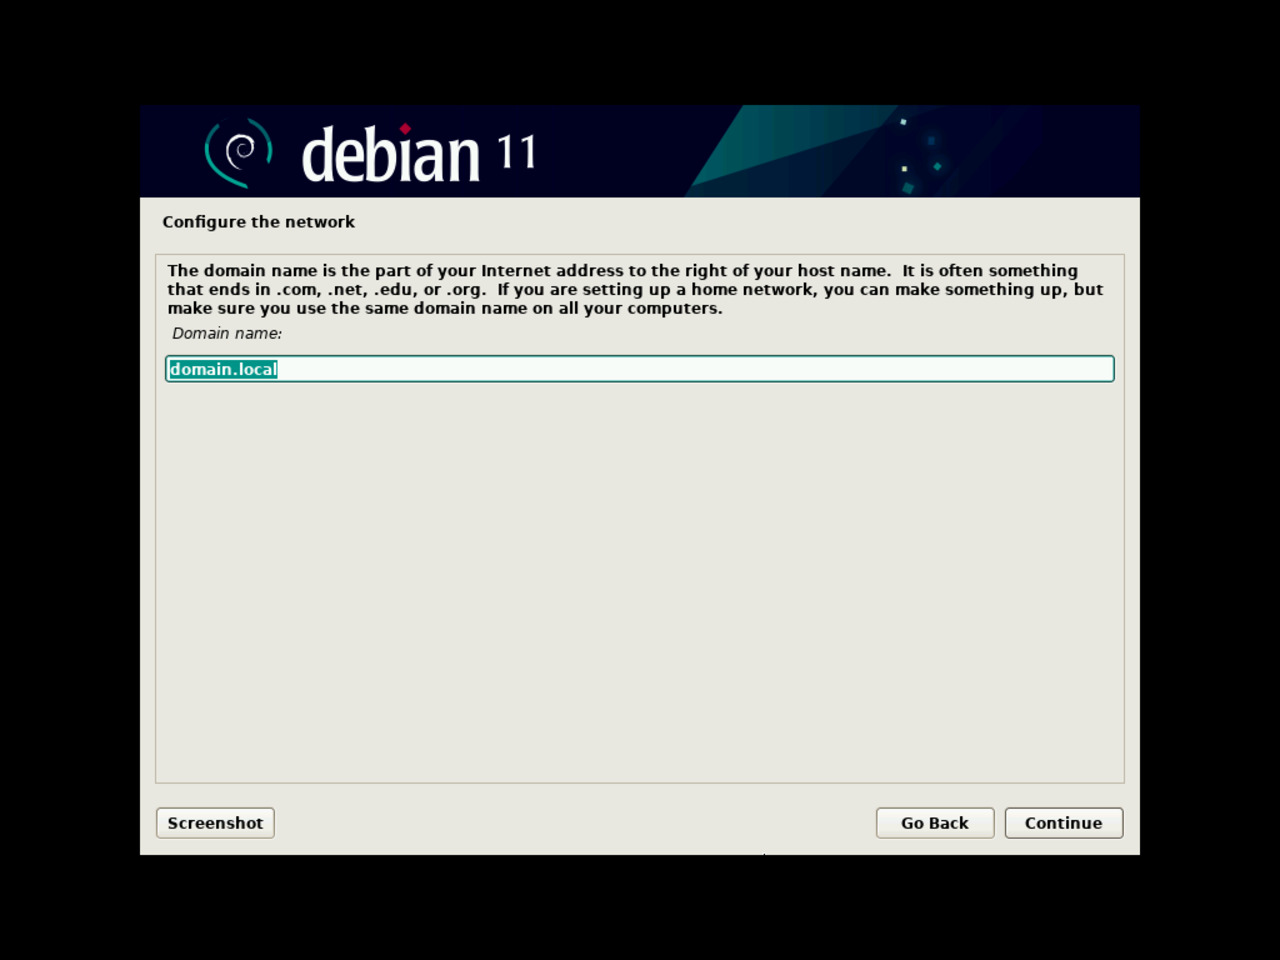
For this First Linux Laptop installation tutorial, I assume that the laptop that you are setting up will run on your home network, simply connected to your Internet router.
Since then, you can choose any domain name you wish before clicking the “Continue” button.
18 - Setting up the “root” password
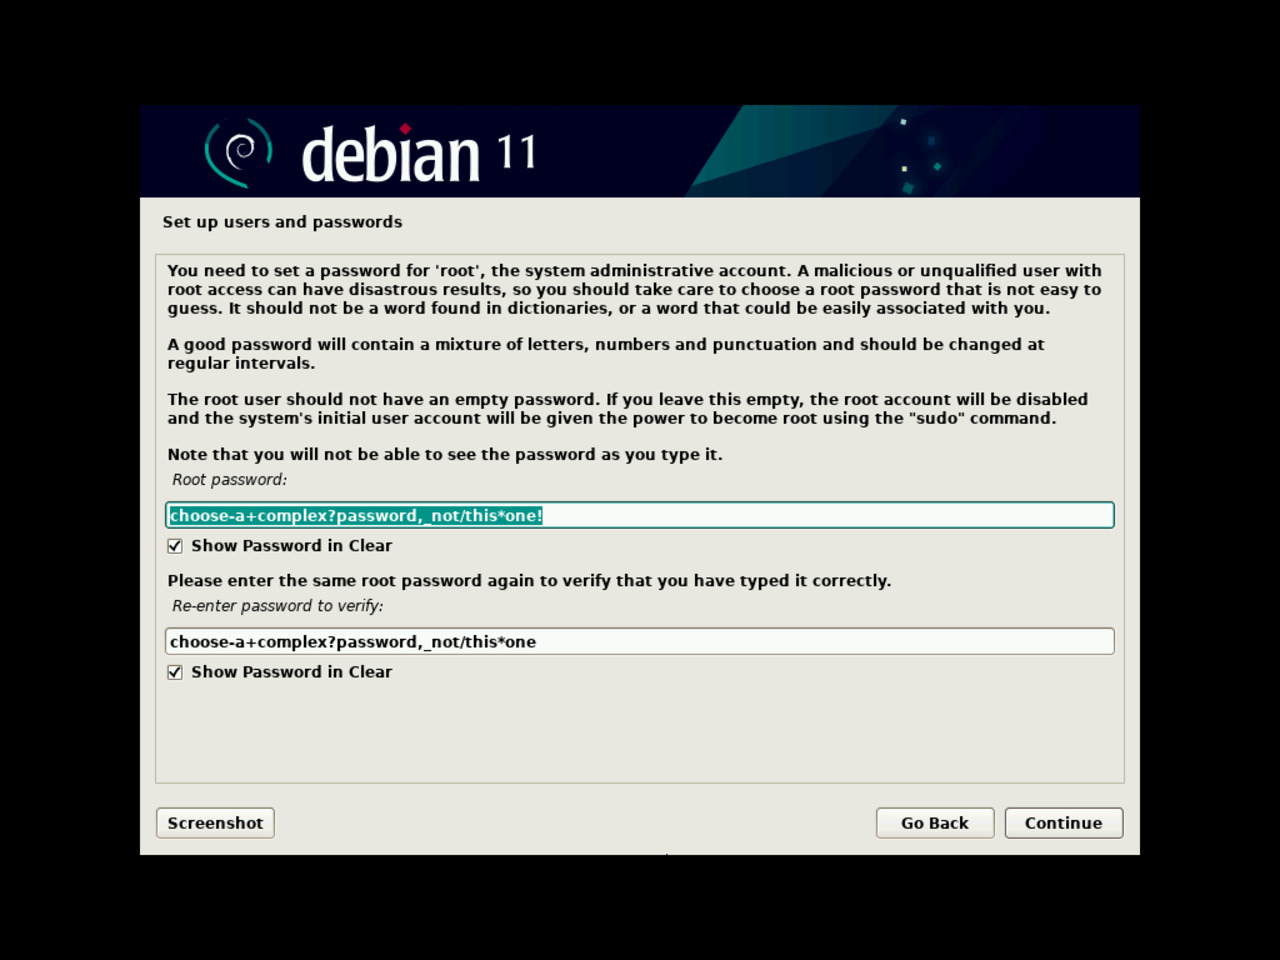
Any Linux systems has an administrator: its login name is “root” (all lowercase).
You are the administrator, the “root user” of your First Linux Laptop.
Administering a system should always be taken with much seriousness. For this reason, I recommend that you would choose a secure password.
Click “Continue” when ready.
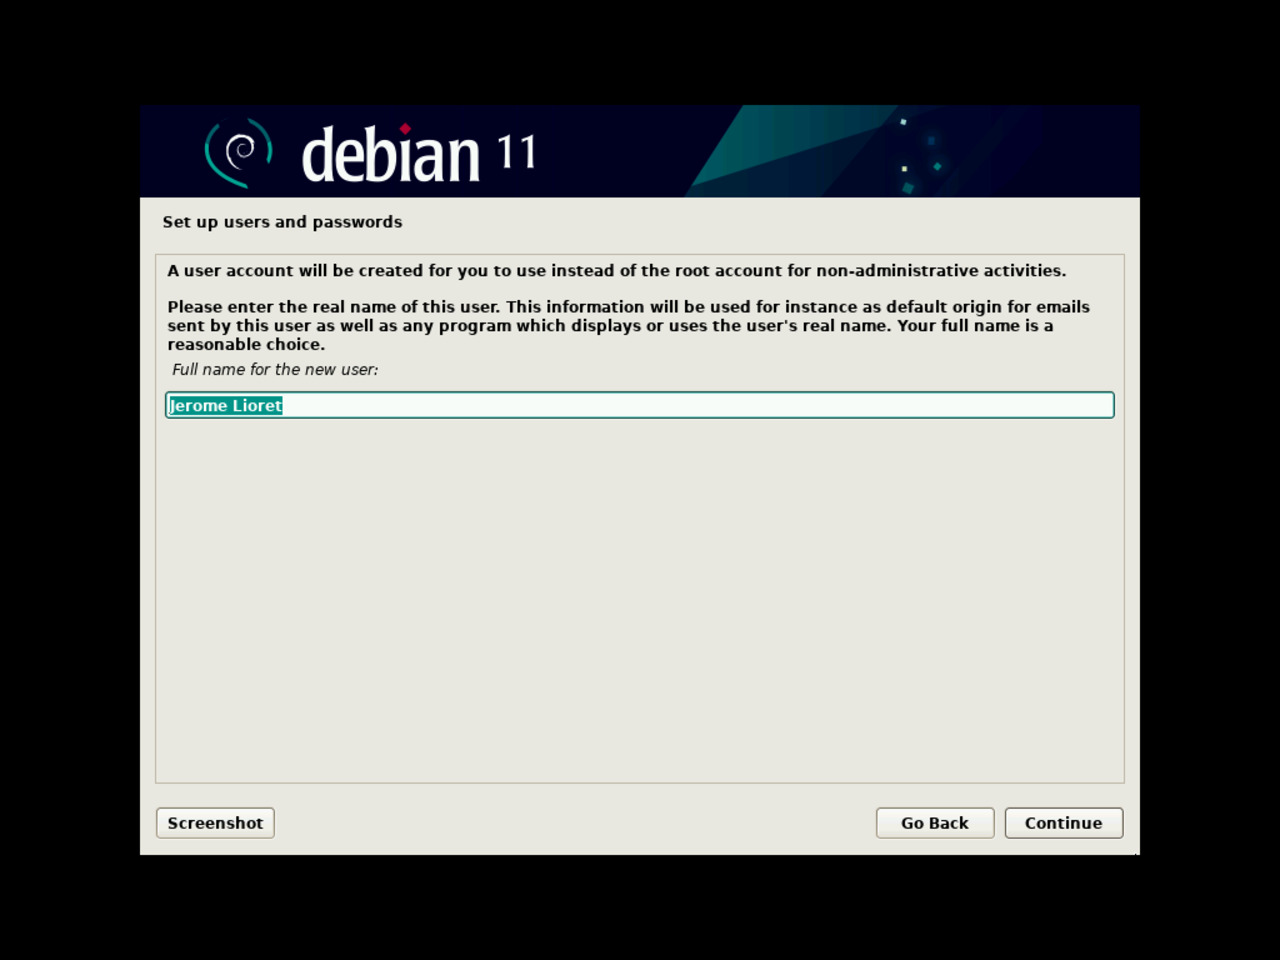
19 - Entering user's full name
An administrator account should not be used for day to day regular user's tasks and activities.
For this reason, you are now creating a user account.
The first step of this creation is to enter your full name; the distinct login name for the account will be set on the next step.
Enter your full name and click “Continue”.
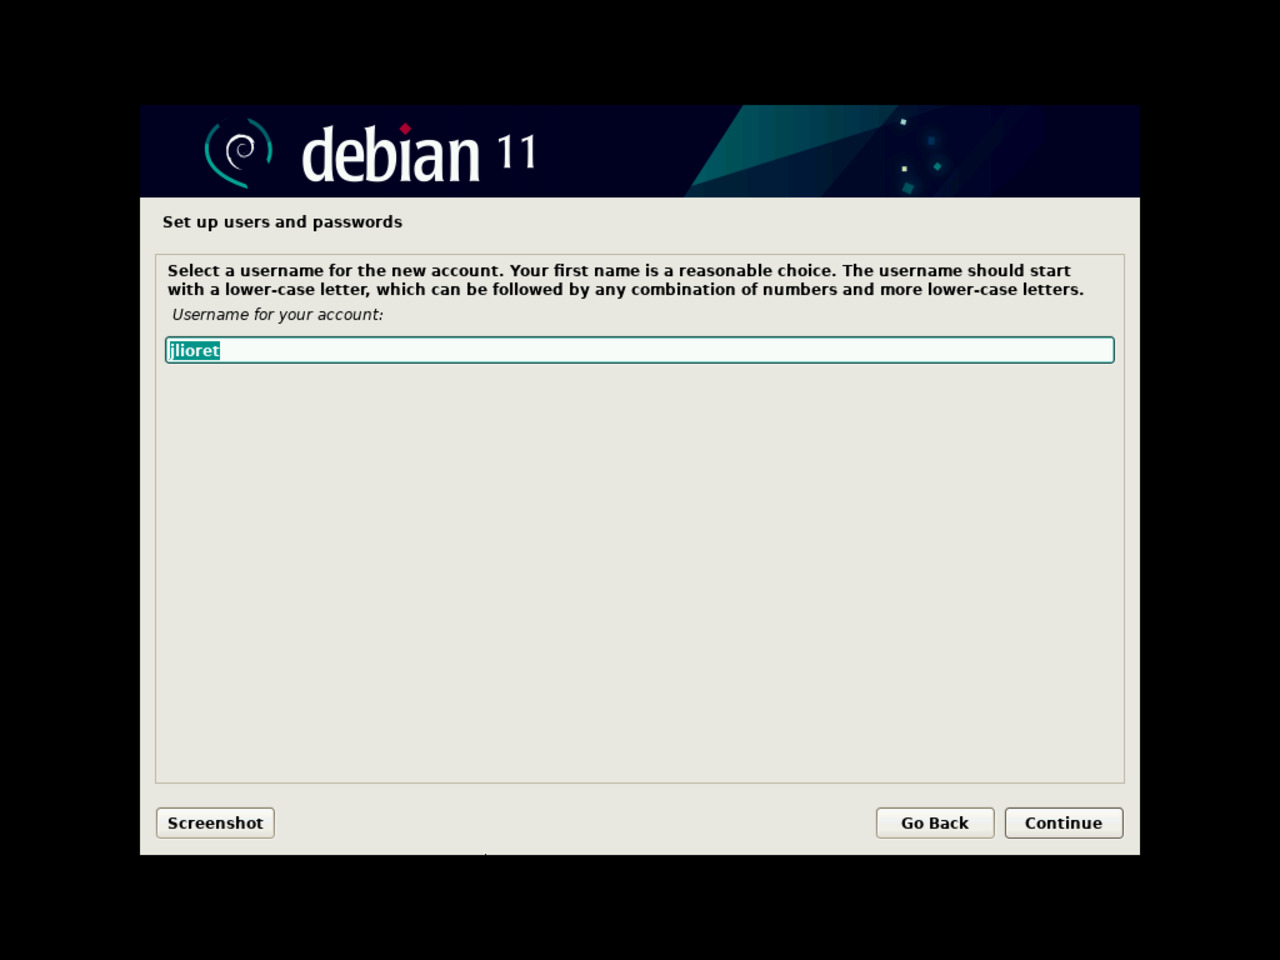
20 - Entering user's login name
The login name is the user's unique identifier for the system.
You will use it to log into the system in non-graphical mode (aka “console mode”).
Click “Continue” when you are ready.
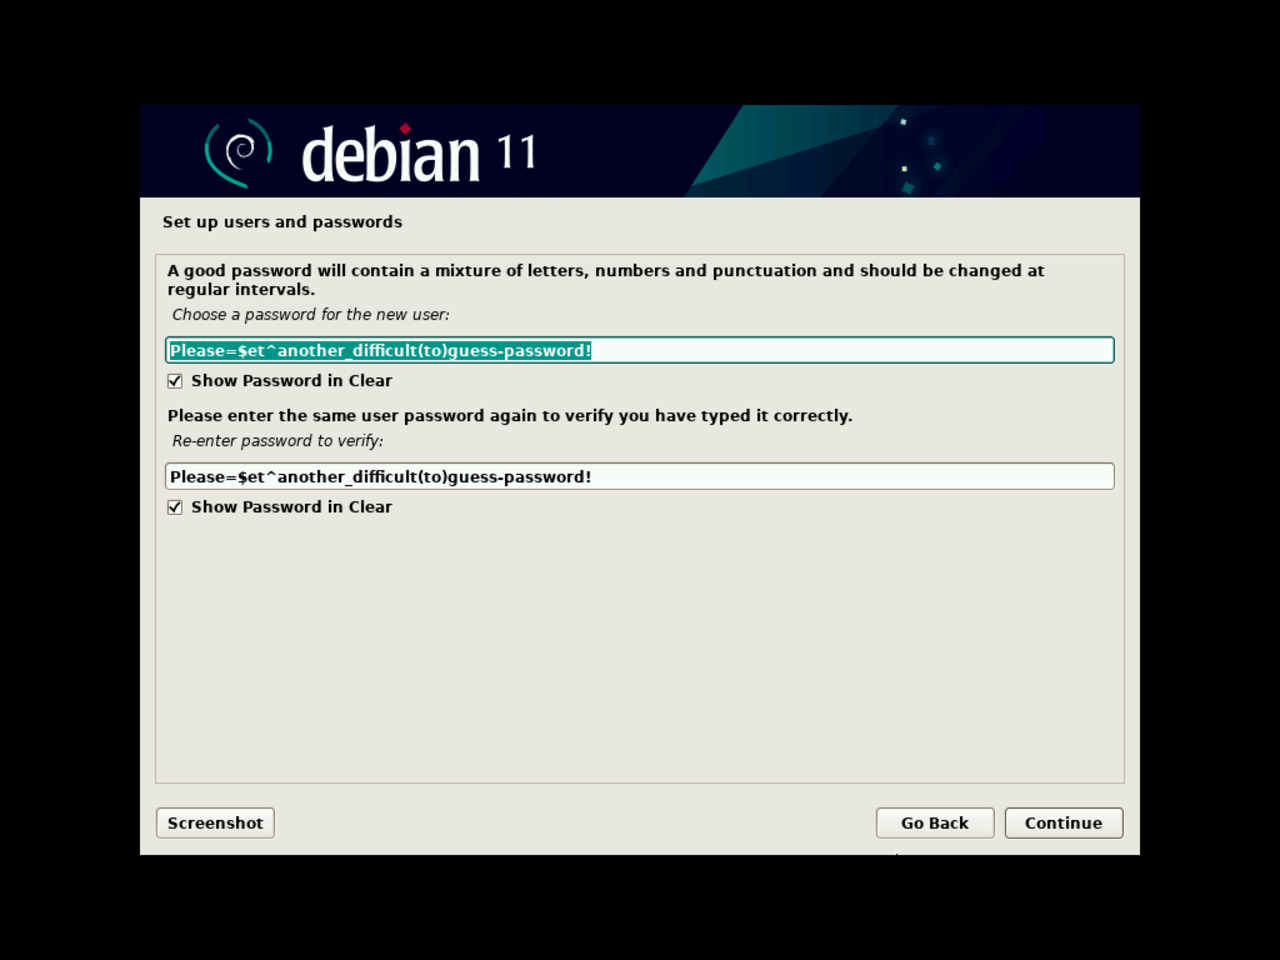
21 - Setting up the user's password
Just like for the root user, you have to create a secure password for the regular user's account.
Ticking the checkbox below the password field will make it readable.
Enter your password and click the “Continue” button.
22 - Selecting time zone
If the location that you have chosen for your first GNU/Linux Debian installation covers several time zones, the installation process will propose to you corresponding available choices.
When the chosen location fits inside a single time zone, this step does not occur during the installation process.
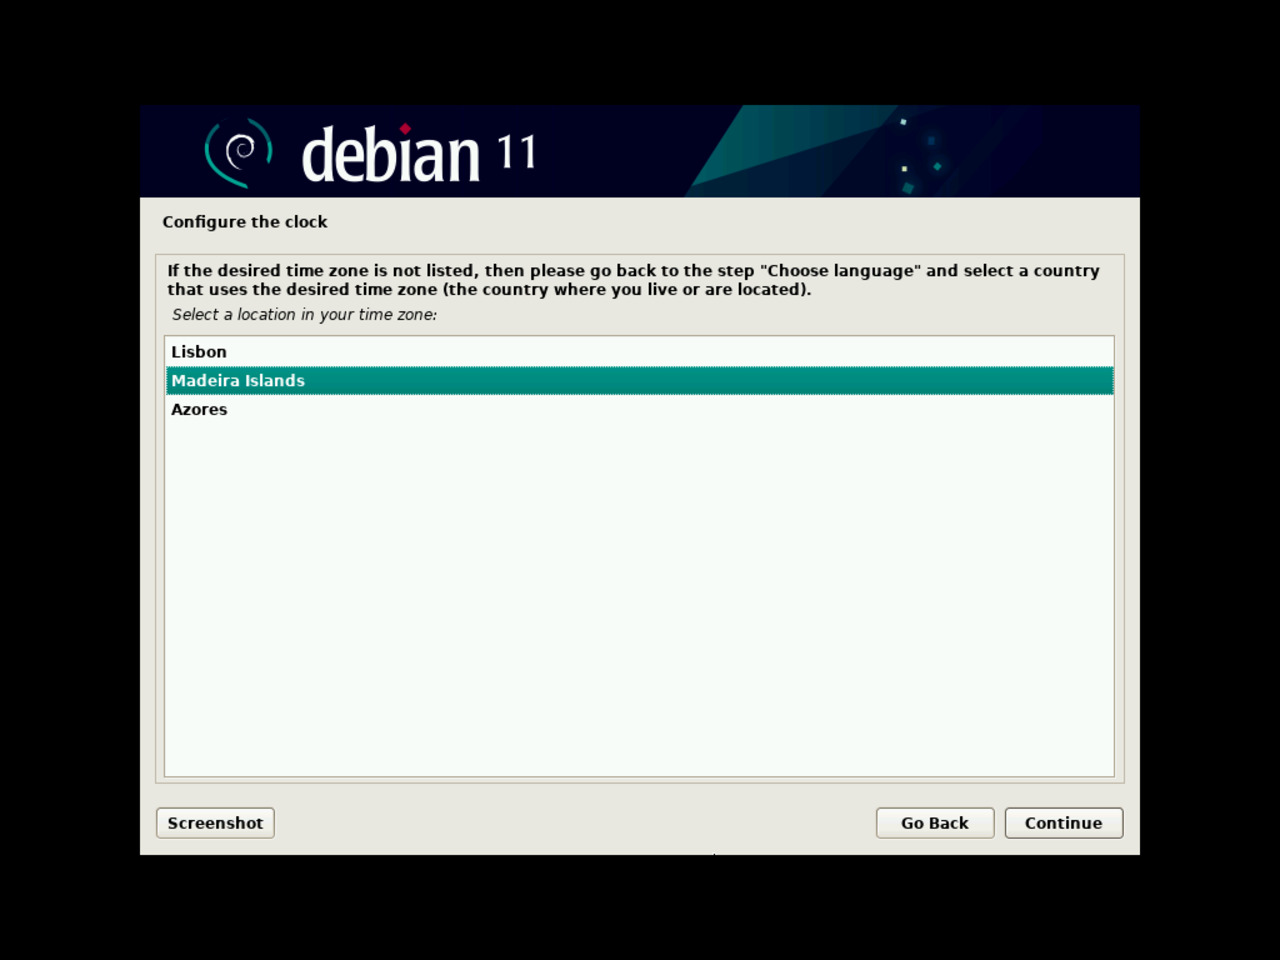
Select the appropriate time zone if applicable and click the “Continue” button.
